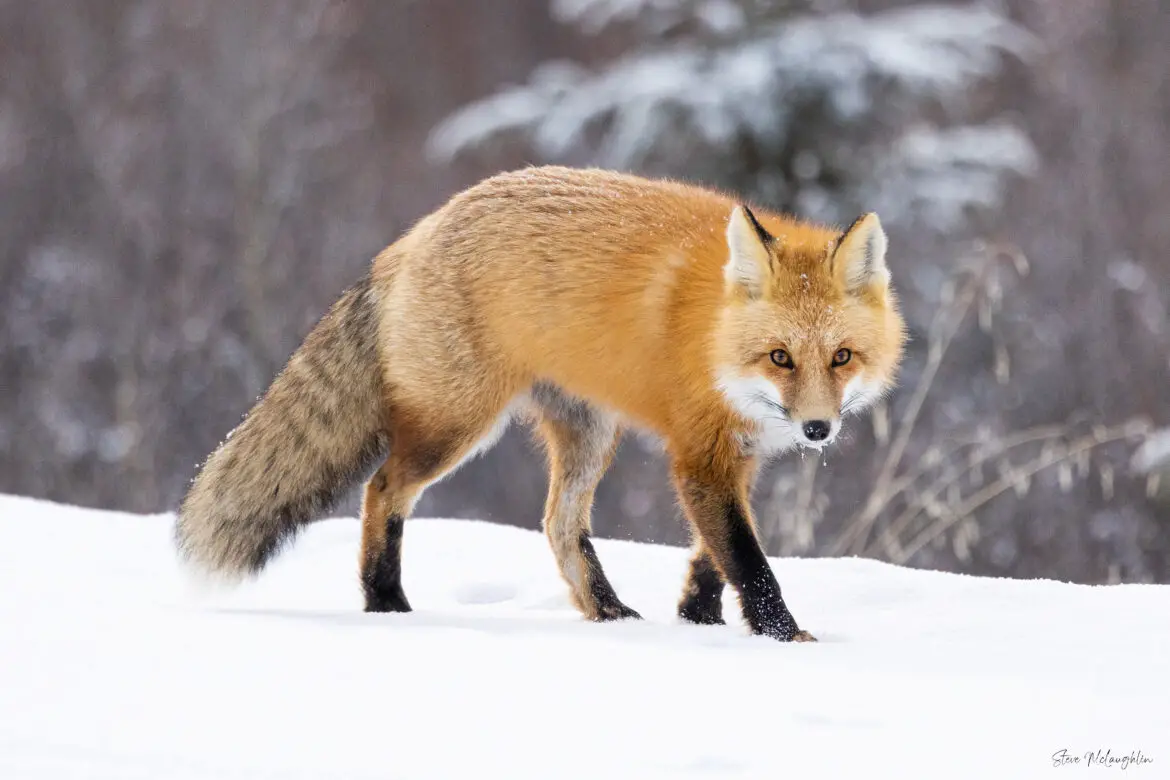
Whether you’re photographing birds, bears, deer or everything in between, wildlife photography lets you freeze fleeting moments of beauty in nature.
With that said, it comes with its own set of unique challenges. Wildlife photography might be one of the most challenging out of any genre and certainly the most demanding of our cameras.
These 10 essential tips will help take you from beginner to pro and get amazing animal shots in no time.
Table of Contents
Start in Your Own Back Yard
There’s no shame in starting with the subjects you already have around you. Taking pictures of animals that are already in your daily life, like birds at the feeder, squirrels in your back yard or even your pet can help you get to know your camera gear.
You can learn how to nail your camera settings and timing without stressing about the animal running away, or losing a once in a lifetime opportunity to photograph an elusive animal like a wolf.
Plus, you can get a lot closer to tame subjects without scaring them away, so you don’t have to invest in a telephoto lens right away. You can practice using the camera gear you already have (or can borrow!)
You could even visit the local zoo to practice things like picking the right exposure settings, observing the lighting and comparing different framing and compositions.
Use a Long Telephoto Lens
There’s no getting around it: once you graduate into wild subjects, you will most likely need to invest in a long lens.
It’s imperative to keep a distance from animals, both from a safety and an ethical point of view.
This is especially true with predators like bears and wolves. But many more docile-seeming animals, like elk and deer, can also get aggressive or stressed out if you get too close.
Familiarity with humans can become a hazard over time for the beautiful species we hope to photograph. It’s no fun when we know our hobby is causing animals harm.
So for wildlife photography, a good telephoto lens starts around 300mm. But realistically, many animals require 500mm.
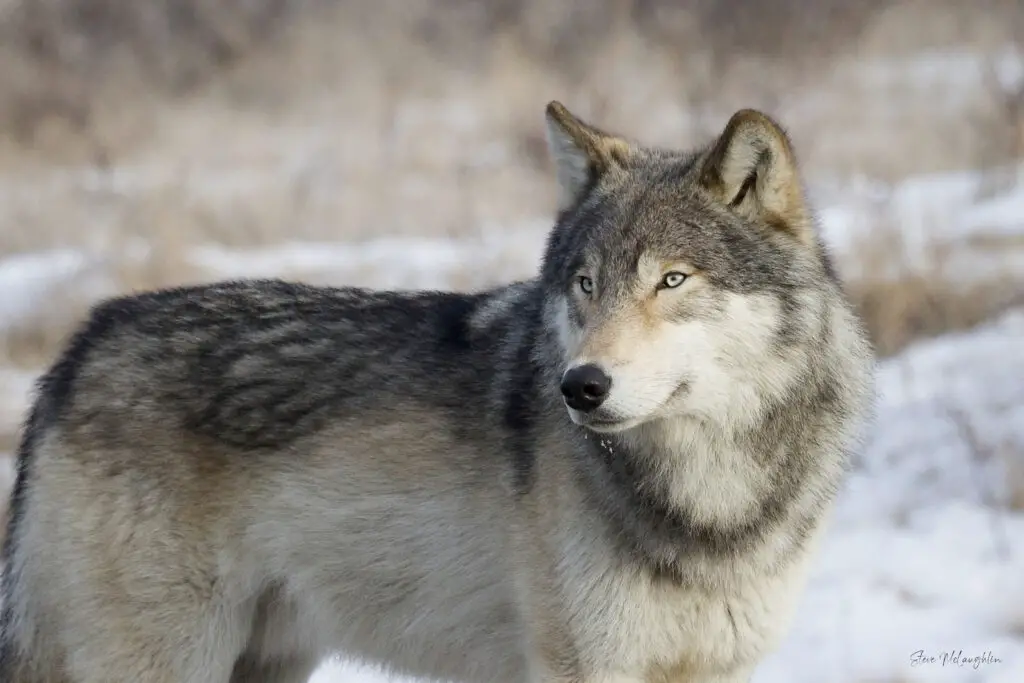
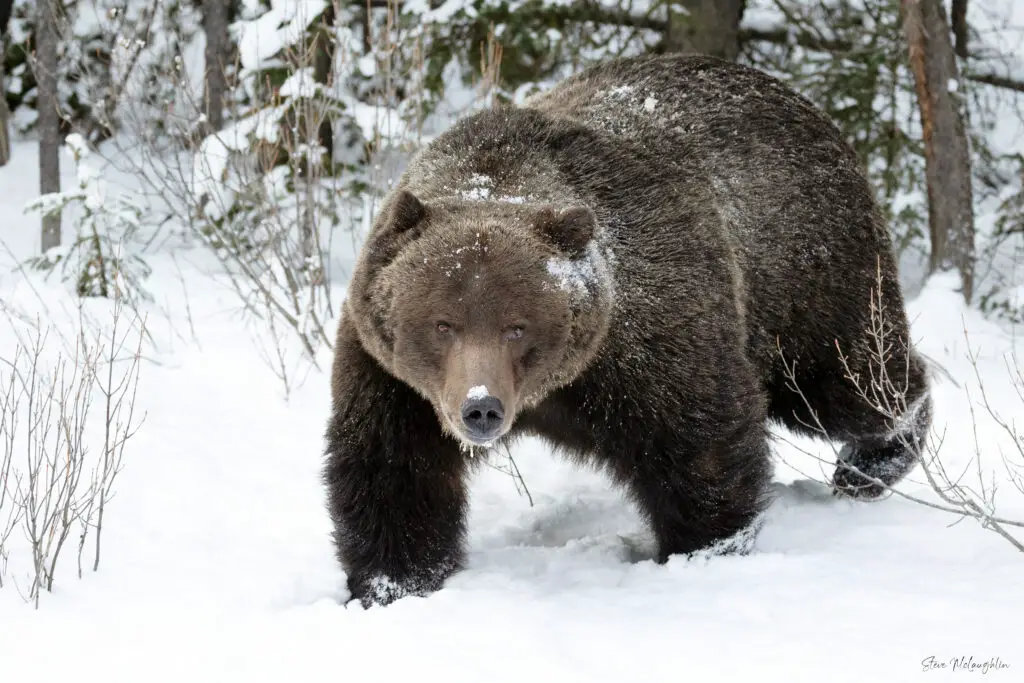
This image was taken using a 500mm lens with an extender to preserve the animal’s wild instincts.
Be Mindful of Camera Movements & Stabilize Your Shots
One of the biggest problems that plagues new photographers is blurry photos. There’s nothing worse than getting home and downloading all your images onto your computer just to find that none are in focus.
One of the most common causes of blur is tiny movements in the camera and lens while you’re pressing the shutter button. The movement is especially exaggerated by long telephoto lenses, so this is an issue that affects wildlife photography especially.
If you have plenty of light, you can just use a fast shutter speed. Unfortunately, many animals are most active around dawn and dusk, so we’re rarely shooting in perfect lighting conditions.
Turning on your lens and camera stabilization (IBIS) can help to minimizes blur. As can using a tripod.
If you don’t want to carry a tripod around with you (we don’t blame you, they can be heavy!) you can also rest your camera and/or lens against natural objects like rocks and tree branches to keep it steady as you press the shutter.
In a pinch, you can try holding your feet shoulder width apart, keeping your elbows snug against your ribs – basically turning yourself into a human tripod!
For more tips on taking sharp photos, see our article: 14 Pro Tips for Capturing Tack-Sharp Wildlife Photos
Master The Exposure Triangle ASAP
You don’t have to learn every single setting on your camera right away – mastering these three will already put you years ahead! The exposure triangle is made up of three main camera settings: the ISO, shutter speed and aperture.
Each of these three settings affects how bright or dark your final image turns out. But each setting also affects other things, like how grainy the image is, whether motion is frozen or blurred, and how blurry your background turns out in comparison to the subject.
Possibly the best way to learn these three settings is by focusing on one at a time. Change the ISO and see if you notice how your image changes. Then repeat with your shutter speed and aperture.
Find Your Way Around Your Camera’s Focus Modes
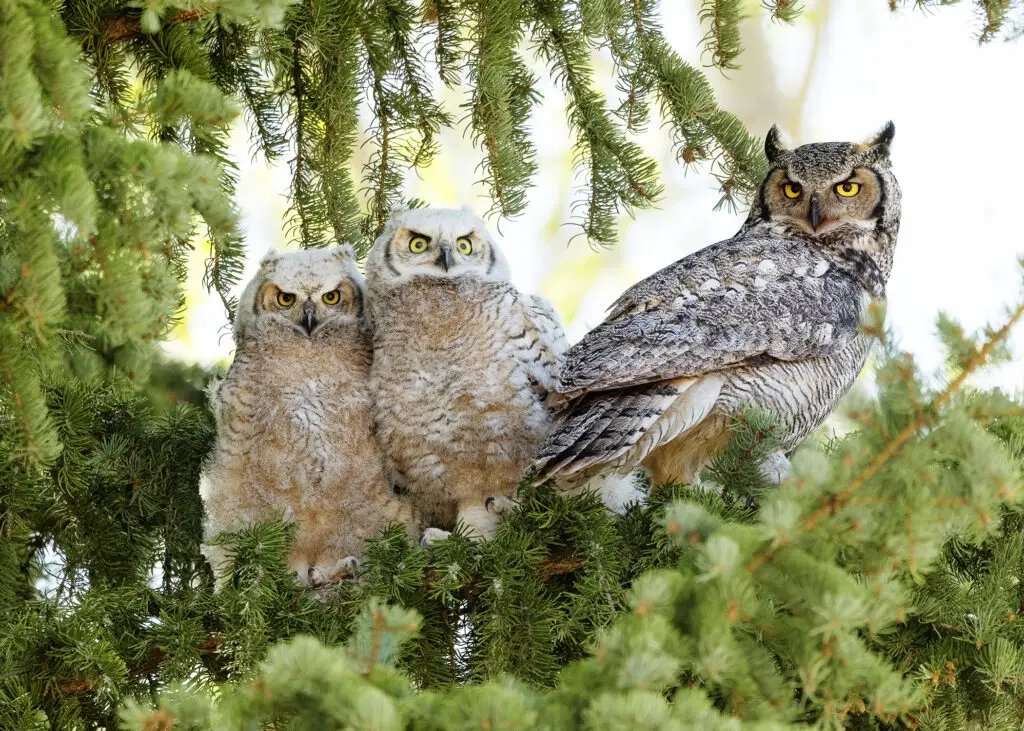
In wildlife photography, we lean heavily on autofocus for fast moving animals.
But there are certain situations where you’ll want to switch your camera to manual. Sometimes the scene is just too crowded for your camera to understand what to focus on.
You’ll find this especially when there are lots of branches in the scene, or even with groups of animals where you want to focus on a specific one.
Different autofocus settings also work better for different situations, like ultra-fast birds in flight vs. large animals calmly grazing in a field.
Getting used to back button focus is one of the skills we recommend for most wildlife photographers, because it saves you from having to fiddle with different focus modes while out in the field.
Story Telling Through Photography
Many wildlife photographers – amateur and pro alike – only focus on getting close up shots of animals. No doubt, that’s a great skill to master!
But consider getting more of the environment in your shots sometimes to give more context and convey a larger story. While you’re out, you can try getting a good variety of close ups and environmental portraits.
Wildlife photos are most impactful when they convey narrative, behavior or environmental context. You can also look for interactions between animals, parents and offspring, unique gestures and so on. Pay close attention to your subjects and don’t be afraid to stick around and watch their behaviors unfold.
The longer you observe your subject, the more likely it is that you’ll see something truly interesting or unique!
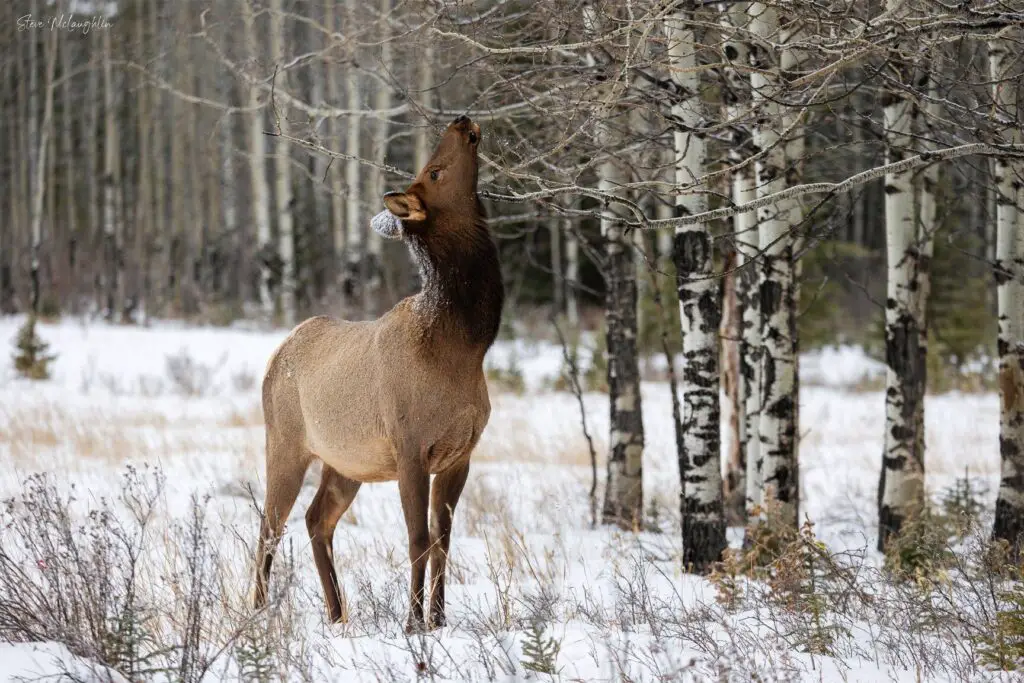
Images like this really make you appreciate the way animals camouflage and blend in with the larger environment.
Be Present at The Best Times
Understanding your subjects can save you from hours and hours of wandering around without seeing anything.
Do research on your local species to understand their migratory patterns, seasonal behaviors and daily schedules.
Mating season can be one reason for strange and interesting behaviors.
Shoot in the golden hours around sunrise and sunset when animals are most active.
Stay Safe and Respect Your Subjects
With a camera in front of your face, it’s easy to forget yourself and get too close to animals. Or to wander into a precarious position, like right in the middle of a herd.
Make sure to keep your awareness on the situation as well as your subject. Consider things you could hide behind to conceal and protect yourself, like large rocks, divots in the ground, or trees.
Never approach or harass wildlife to get a photo. Use common sense around potentially dangerous animals, birds protecting their young and so on.
Venturing Into the Wild
Getting breathtaking, frame-worthy wildlife shots requires skill, the right techniques and equipment, and lots of patience!
With practice and persistence, anybody can create truly incredible images of animals! It doesn’t take very long to learn your way around the camera and get some keepers each time you go out.
The best way to learn photography is to take lots and lots of pictures. Start with these tips as a beginner and you’ll be well on your way!
If you’d like to browse more of our images for inspiration, check out our Wildlife Photography Gallery!
