There’s nothing worse than waking up before dawn, taking a long hike to find wildlife, and waiting an hour for the perfect background and lighting conditions – only to go home and discover that your photos are blurry once you get them on your computer. It can be an incredibly frustrating and disheartening experience for any wildlife photographer, and something we all go through at some point.
Fortunately, blurry photos have a few different fixes, depending on what’s causing them. Here you’ll find a comprehensive guide with expert tips and techniques to help you improve your keeper rate and master the art of capturing sharp and detailed wildlife photos.
Let’s dive in and learn how to capture the images you were expecting!
Table of Contents
The Top 5 Reasons Your Photos Aren’t Sharp
Generally speaking, here are some reasons why your wildlife photos are not sharp:
| Reason | Explanation | Fix |
|---|---|---|
| The Animal is not in Focus | When the autofocus system doesn’t accurately lock onto the subject, you may notice that something else, like the background, is sharp instead of the animal. | Use the right autofocus mode (see below). If your background is chaotic (for example, lots of tree branches), try manually selecting your focus point, or switching your lens to manual focus. |
| Camera Shake | Small movements of the camera and lens can lead to blurry photos. This effect is particularly obvious with long (telephoto) lenses. In this case, nothing in the image is sharp! | Use a tripod or support your camera on a stable surface, like a rock or tree branch. If handheld, use a faster shutter speed or turn on image stabilization to minimize camera shake. Using a mirrorless camera (or a remote shutter release cable) can also help minimize camera shake. |
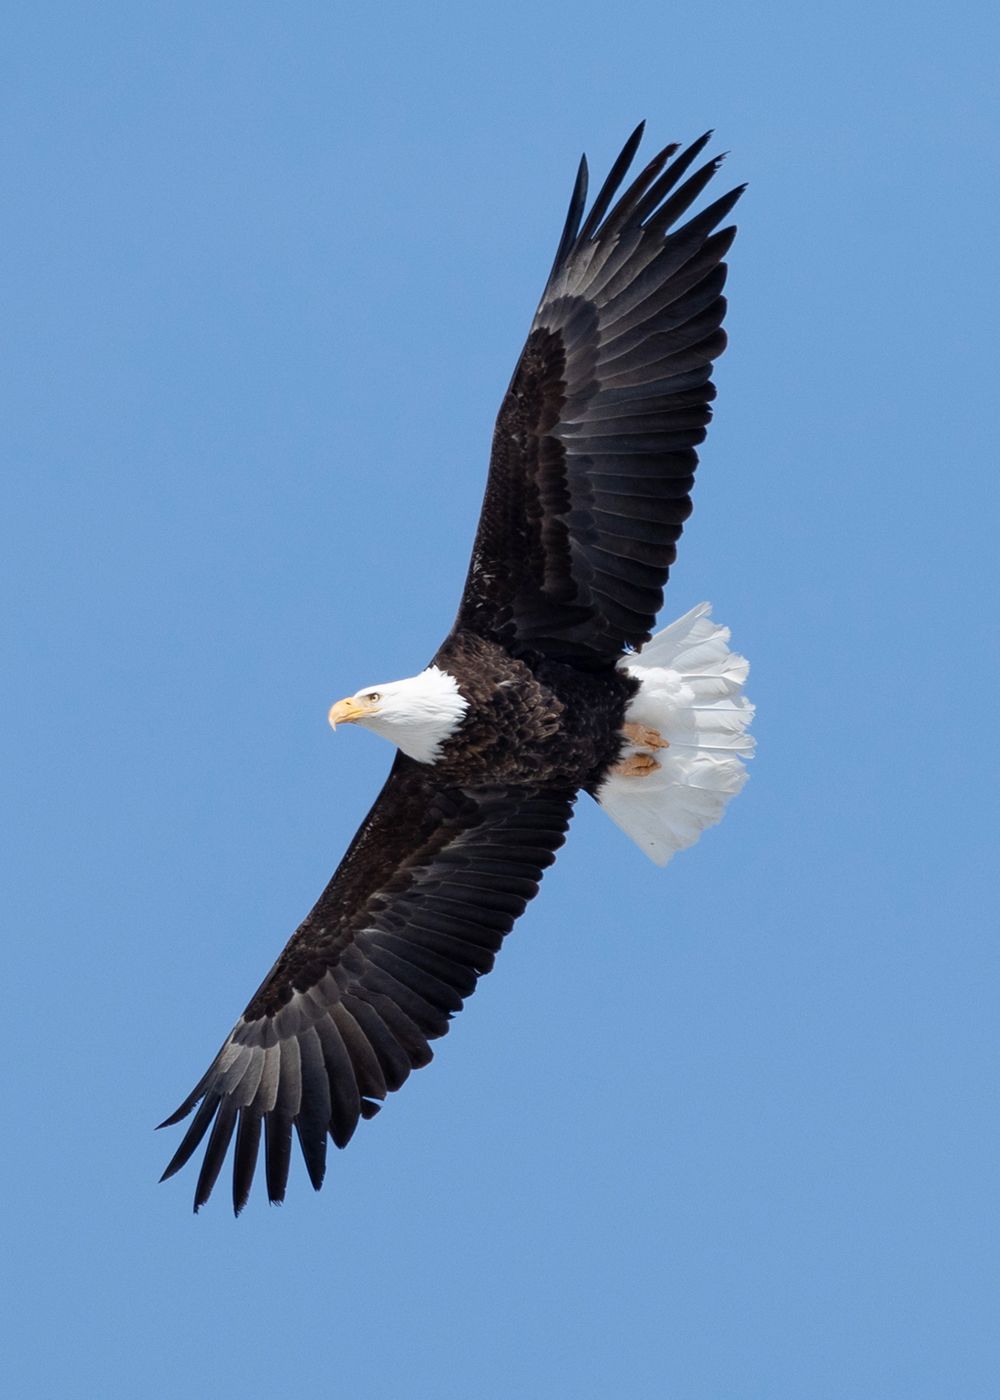
| Motion Blur | The subject was moving while you took the picture, causing motion blur. This happens most often with fast moving animals, like birds in flight. | Increase your shutter speed to freeze the action. Consider using burst mode to capture multiple frames in quick succession, increasing the likelihood of getting at least one sharp image. You can also try panning your camera along with the moving animal. |
| Poor Lighting Conditions | Low light forces your camera to use slower shutter speeds and higher ISO’s, causing blurry or grainy images. | Try a lens with a larger maximum aperture (lower f-stop number) or increase your ISO setting to allow for a faster shutter speed. If you have to use a high ISO over 1000, try using noise reduction in post production. |
| Atmospheric Conditions | Weather conditions like heat haze, humidity, rain, falling snow, etc. can affect the sharpness of your images. | Make sure the front of your lens is free from mist and water droplets. Try getting closer to the animal (only if it’s safe to do so!), or come back on another day when the weather has improved. |
Now that you know the main reasons why your wildlife pictures aren’t sharp, let’s take a detailed look into the ways to fix them.
Equipment to Use for Sharp Wildlife Pictures
1. Invest in a good camera and lens
Good equipment is a big factor in getting sharp wildlife pictures. Unless you’re a pro at manually focusing your lenses, the super fast and reliable autofocus of modern cameras and lenses will go a long way in helping you get sharp, in-focus images. Choosing a camera with high FPS (frames per second) capabilities can also help with fast moving animals like birds in flight.
Additionally, a telephoto lens with a focal length of 300mm or higher lets you get close-up shots safely while keeping your photos sharp.
If you have a limited budget, prioritize a higher quality lens over an upgraded camera body. At Mountains and Treasures, we shoot with Canon R6’s. Realistically, you don’t need to have the latest and greatest camera! Most cameras made in the last 5-10 years are plenty fast enough for wildlife.
2. Use a tripod or monopod
When photographing stationary subjects or shooting in low light conditions, using a tripod or monopod can significantly stabilize your camera and reduce camera shake. In a pinch, you can lean your lens on a tree branch, rock, or the side of your vehicle as a makeshift tripod. If you’re totally strapped for objects to stabilize your camera with, you can try locking your elbows against the side of your body and just being as still as possible while you take your shot.
3. Clean your equipment regularly
Dust, smudges, or water droplets on your camera lens or sensor can degrade the sharpness of your images. Make a habit of regularly cleaning your equipment using a lens cloth and sensor-cleaning tools. A clean lens and sensor will ensure that you capture sharp and clear images without any unwanted artifacts.

Best Camera Settings for Sharp Wildlife Photos
4. Use a fast shutter speed
Wildlife is constantly in motion, so using a fast shutter speed will freeze the action and capture sharp images. Aim for a shutter speed of at least 1/500th of a second or faster for most wildlife subjects. Subjects like birds in flight can require even faster shutter speeds.
5. Use a high ISO
In low light situations or when you need a faster shutter speed, you may need to increase your camera’s ISO setting. It’s a balancing act, because higher ISO values can introduce noise into your images. To strike a balance between ISO and image quality, experiment with different ISO settings and post-processing noise reduction techniques.
6. Use burst mode
Animals can be unpredictable, and timing is crucial to capturing sharp wildlife pictures. Use your camera’s burst mode (continuous shooting) to increase your chances of capturing at least one photo in sharp focus. This mode allows you to capture a sequence of images in rapid succession, so that when you get home, chances are at least one of them will be in focus (but realistically, probably a lot more.) Burst mode can quickly eat up your storage space, so make sure to go through the images afterwards and delete any unusable ones, and turn off burst mode for subjects that aren’t moving around much.
7. Use back-button focus
Consider using back-button focus instead of half-pressing the shutter to focus. This separates the focusing function from the shutter release, allowing you to lock focus and recompose without the camera refocusing unintentionally. Back-button focus gives you more control and helps ensure that your subjects remain sharp throughout the shot.
8. Use the appropriate focus mode
Choose the appropriate autofocus mode based on the situation. For photographing animals in motion, use continuous autofocus (AI Servo for Canon or AF-C for Nikon) to track your subject and maintain focus. For stationary subjects, use single autofocus (One Shot for Canon or AF-S for Nikon) to achieve precise focus on specific areas of your subject.
9. Use image stabilization
If your lens or camera has image stabilization (IS or VR), make use of it to reduce camera shake and improve image sharpness. Image stabilization technology helps compensate for minor camera movements, particularly when shooting handheld. This feature can greatly enhance your ability to capture sharp images, especially in challenging shooting conditions.
Factoring in Environmental Conditions
10. Shoot in good lighting
Lighting plays a crucial role in capturing sharp wildlife pictures. Opt for shooting during times of the day with soft, diffused light, like early mornings or late evenings. The lighting is more flattering during that time of day, with reduced contrast. Avoid shooting during midday when harsh sunlight can create unappealing shadows. Too little light makes it difficult to achieve a fast shutter speed and a reasonable ISO setting, while shooting in very dark conditions may introduce excess noise regardless of the settings you use.
11. Shoot in favorable weather conditions
Environmental factors like heat haze, fog, rain, snow flurries, or high humidity can all impact the sharpness and overall quality of your wildlife images. It’s not impossible to get good images in these conditions, so don’t write off interesting weather altogether! It’s just more of a challenge. You may need to get closer to your subjects or use longer lenses. Keeping your lens clear of water droplets on rainy or snowy days will also improve the look and sharpness of your images.
12. Get closer when it’s safely possible
Generally speaking, the closer you are to your subject, the easier it is to get sharp images. You can also use shorter lenses when you’re closer, which reduces lens shake and atmospheric noise. With that said, always prioritize your safety and the well-being of wildlife. Continue to respect their space, and don’t take undue risks just for the sake of getting a good image.
13. Pay attention to the background
Seek out backgrounds that are simple, complementary to your subject, and free from distractions. A cluttered background can confuse your camera’s autofocus system, so you might need to manually select the focus point or turn off the autofocus altogether and manually focus your lens.
14. Be patient!
Wildlife photography requires time, patience, and a keen eye for observing animal behavior. Spend time learning about the behavior and patterns of the wildlife you wish to photograph. By anticipating their movements and habits, you can position yourself in the best possible way to capture sharp images. Don’t be afraid to take lots of images, either. As long as you have the basics correct, taking lots of photos will improve your odds of getting multiple keepers. You can always delete the extras later.
Pin This Article!


Good luck!
By following these tips and consistently practicing your wildlife photography skills, you’ll be well on your way to capturing sharp and stunning images of wildlife. With practice, patience, and a bit of luck, you’ll be able to create captivating wildlife photographs that showcase the beauty and wonder of the natural world.
