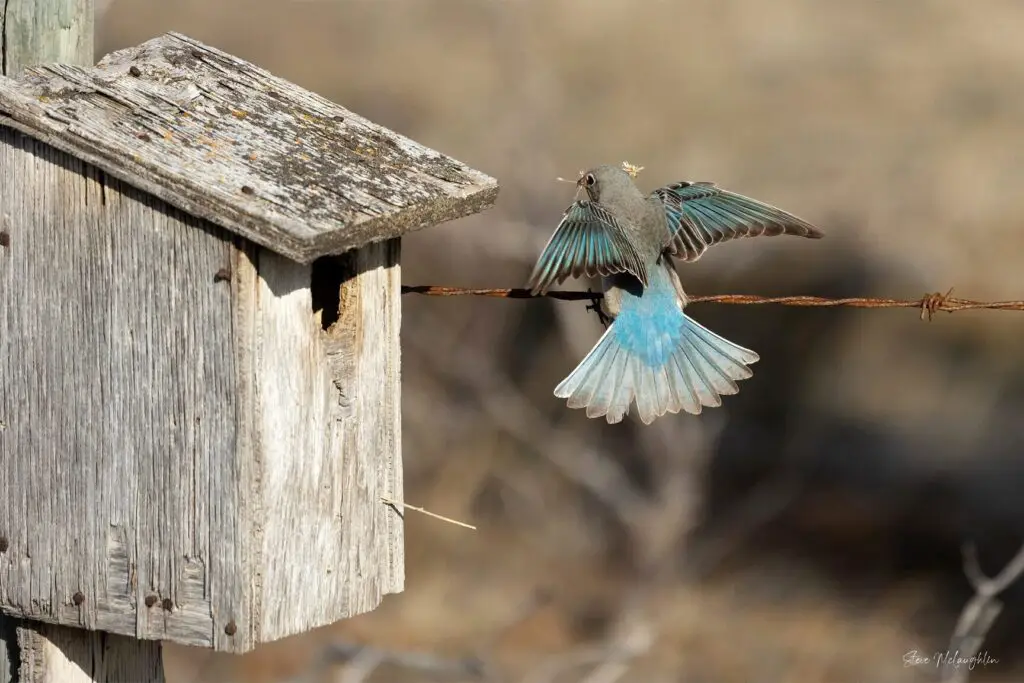
Wildlife photography is one genre that really demands that we fine-tune our camera settings. One setting that can have a major impact on your ability to capture wildlife at just the right moment is back button focus.
In this blog post, we’ll delve into what back button focus is, explore its advantages in various wildlife photography scenarios, guide you on setting it up, and provide additional tips for maximizing its benefits in the field.
Table of Contents
Understanding Back Button Focus
By default, the autofocus and shutter release are both triggered by the camera’s shutter button. Normally you would push the button halfway down to focus, and all the way down to create the image.
Back button focus separates the autofocus from the shutter release, allowing you to control the focus independently. Instead, we assign the autofocus to a different button on the back of your camera.
If you’re used to pressing the shutter button halfway to focus, it can be a little tough to get used to back button focus. But once you develop the muscle memory for it, you’ll see why it makes so much sense.
Let’s look into why back button focus can improve your wildlife photography in the next section.
The Advantages of Back Button Focus
1. Increased Control and Precision
There’s nothing worse than waiting for your autofocus to hunt once again for the subject, and even missing your carefully pre-composed shot because of it.
With wildlife, a few micro-seconds can make all the difference between getting the shot or not, and any lag in the autofocus will make a big difference. Even the newest and most expensive cameras can sometimes struggle to focus, especially during the low light conditions we often find wildlife in.
As long as your subject stays the same distance from you, there’s no need for the lens to constantly re-focus. Using back button focus lets you grab the focus once, and then worry about other things like composition, waiting for the light to be just right, and waiting for the animal to move into the pose or position you were hoping for.
2. Continuous Focus Tracking
You can still achieve continuous focus tracking by holding the back focus button down. So essentially, using back button focus lets you switch between single and continuous autofocus modes without going through your menus.
Single shot autofocus is often recommended for slower subjects, while continuous is recommended for quick moving ones. But in the field, we don’t always have time to try to determine which focus mode works best for an animal that just popped out of the bushes!
Back button focus works both for subjects that are relatively stationery, like elk grazing in a field, and subjects that are in constant motion, like birds in flight. So it saves that extra split second of worrying about different focus mode settings.
3. Quick AF and MF Switching
Similarly, back button focus lets you switch seamlessly between autofocus and manual focus. This flexibility comes in incredibly handy when the autofocus has trouble locking onto a subject, for example in dense brush. (Think birds with leaves in front and behind, or a bear peeking his head out from between sparse branches.)
You can use the back button focus to autofocus to the best of the camera’s ability, and then fine-tune the focus manually without fiddling with any switches on your camera or lens.
4. Avoiding Unintended Refocusing
Preventing unintended refocusing is a common challenge in wildlife photography. Back button focus resolves this issue by isolating the focusing function from the shutter button. This way, you can focus and then re-compose the scene without worrying about your camera refocusing on an unintended element in the frame.

Setting up back button focus lets you determine when the camera re-focuses, and when to just take the shot.
Setting Up Back Button Focus
Implementing back button focus varies from camera to camera. Here’s a general guide:
Enabling Back Button Focus
Implementing back button focus varies across major camera brands and sometimes even by the model of camera. Here’s a general guide on how to enable this feature:
Canon
- Navigate to the custom functions menu.
- Select “Operation” or a similar option.
- Look for “Custom Controls” or a related setting.
- Assign the “AF-ON” function to a button of your choice for back button focus.
Nikon
- Access the custom settings menu.
- Select “Controls.”
- Choose “Assign AE-L/AF-L button.”
- Assign the “AF-ON” function to the button you prefer for back button focus.
Sony
- Access the custom settings menu.
- Select “Custom Key(Shoot).”
- Choose “AF-ON” to assign back button focus.
Fujifilm
- Go to the button/dial settings menu.
- Select “Function (Fn) Setting.”
- Assign “AF-ON” to activate back button focus.
Panasonic
- Access the custom settings menu.
- Choose “Operation.”
- Assign “AF-ON” to a button for back button focus.
For specific instructions, refer to your camera’s manual.
Conclusion
Back button focus is extremely helpful for wildlife photography in particular. It gives you the flexibility to deal with quickly changing situations without fiddling with different focusing settings in the field.
By providing greater control, continuous focus tracking, and the ability to switch between autofocus and manual focus seamlessly, this technique empowers photographers to capture the unpredictability of nature with quick precision.
Take the time to familiarize yourself with this technique, practice, and watch as your ability to capture the right moment reaches new heights.
If you need more wildlife photography inspiration, check out our wildlife photography gallery or the photography education section of our blog!
