These days, most cameras are great at deciding your settings for you. Automatic mode works like a charm! But sometimes, knowing your camera inside and out can make all the difference in getting the shot you envisioned – or not.
Especially when the lighting is challenging, like at sunset or other backlit situations, you’ll want to know enough about your camera settings to get the proper exposure. The way your autofocus is set up can also make or break a decisive moment!
This post will demystify your camera’s settings for you and help you take your wildlife photography from “pretty good” to amazing!
Table of Contents
Best Camera Settings for Wildlife Photography Beginners
If you’re just starting out with wildlife photography, you can leave most of your camera settings on the factory default. There are only a couple settings I would change:
- Aperture priority mode. If you’re just starting out with wildlife photography, I recommend switching your camera into aperture priority mode. Typically this is located on a dial on the top of the camera, labeled “Av.” Set the aperture to the smallest f-stop number that your lens will allow. For example, f/2.8 or f/4.5. Your camera will then calculate the rest of the settings for you.
- Keep your ISO on auto or set it to 400. This will work well in most daylight situations.
- Set your lens to autofocus. There is usually a switch on the side of your lens from “MF” (manual focus) to “AF” (autofocus). I suggest using autofocus mode – it’s usually a lot faster than we are at catching fast moving animals.
That’s it! Most cameras do a great job at calculating the rest of the settings for you, and will serve you well in 90% of wildlife encounters. If you want to get a little more technical, read on!
Most Important Camera Settings for Wildlife Photography
If you’ve been practicing for awhile, you’ll probably notice some lighting situations that your camera struggles with. You might want to try getting more creative shots like silhouettes at dusk, backlit shots (where the sun is behind your subject), motion blur and other fun effects by adjusting the settings. Understanding the Exposure Triangle is key to getting these more interesting shots.
The Exposure Triangle
The Exposure Triangle involves three settings: aperture, shutter speed, and ISO. These are the most important settings to keep an eye on because they each affect the exposure (the amount of light that reaches the camera’s sensor).
But that’s not all: they each have other effects on the way the image looks. You can play with these settings to take more creative shots, as we’ll get into below.
Aperture: Controlling Depth of Field
Aperture refers to the size of your lens’ opening. It’s measured in fractions like f/2.8, f/5.6, f/8 and so on (called f-stops). Most lenses go all the way up to f/22, which is just a tiny opening in the front of the lens.
If you look at the front of your lens as you change the aperture setting, you’ll be able to see the blades moving to make a bigger or smaller opening for light to get in. This might be the easiest way to understand the relationship between the number and the opening in the lens.
The lower the f-stop number, the “wider” (or larger) the aperture. The wider the aperture, the more light can enter. At the same time, the background gets blurrier while the subject that you focus on stays sharp. Most lenses have variable apertures, so you can stop up or down to control the depth of field and exposure.
- Wide Aperture (e.g., f/2.8): Creates a shallow depth of field. This means your subject is in sharp focus, while the background is beautifully blurred. Perfect for isolating a single animal or bird – it creates a sort of pleasing 3D effect. Opening your lens to a wide aperture also lets more light in.
- Narrow Aperture (e.g., f/16): Provides a deep depth of field. This keeps both your subject and the background in focus. Ideal for capturing wildlife with its environment, or for bringing the animal’s entire body into focus. Can also be useful for having multiple animals in focus, like a herd of elk. Narrow apertures don’t let as much light in, so they’re trickier to use in low light situations.
The maximum aperture of your lens is noted in the name. For example, the Canon RF 100-500mm f/4.5 – f/7.1 zoom lens has a maximum aperture of f/4.5 at the 100mm end, and f/7.1 when zoomed all the way out to 500mm.
The length of your lens will also affect background blur. Generally, longer focal lengths like 500mm will easily create blurred backgrounds, even at more narrow apertures. You’ll probably notice that wide angle lenses like 24mm, on the other hand, tend to create images with sharper backgrounds than telephoto lenses.
The distance between the subject and background is one more factor in how blurry your backgrounds are. When the subject is further away from the background, generally the background will appear blurrier.
Shutter Speed: Capturing Motion
The shutter speed measures how long the shutter is open. The longer it’s open, the more light it collects. It’s measured in seconds or fractions of a second, like 1/1000s, 1/500s, etc.
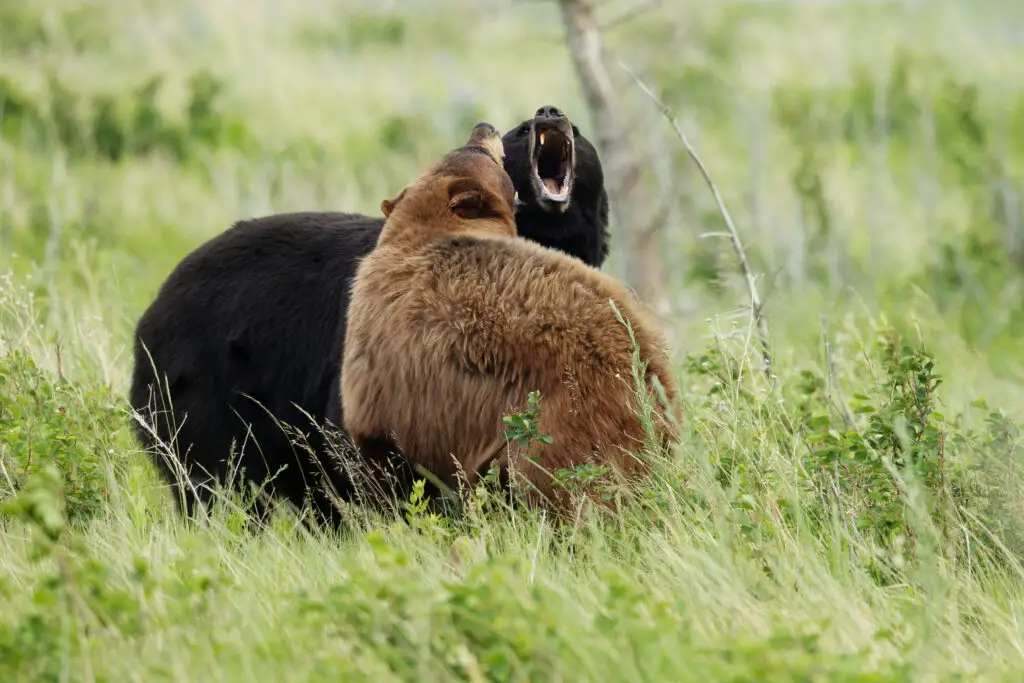
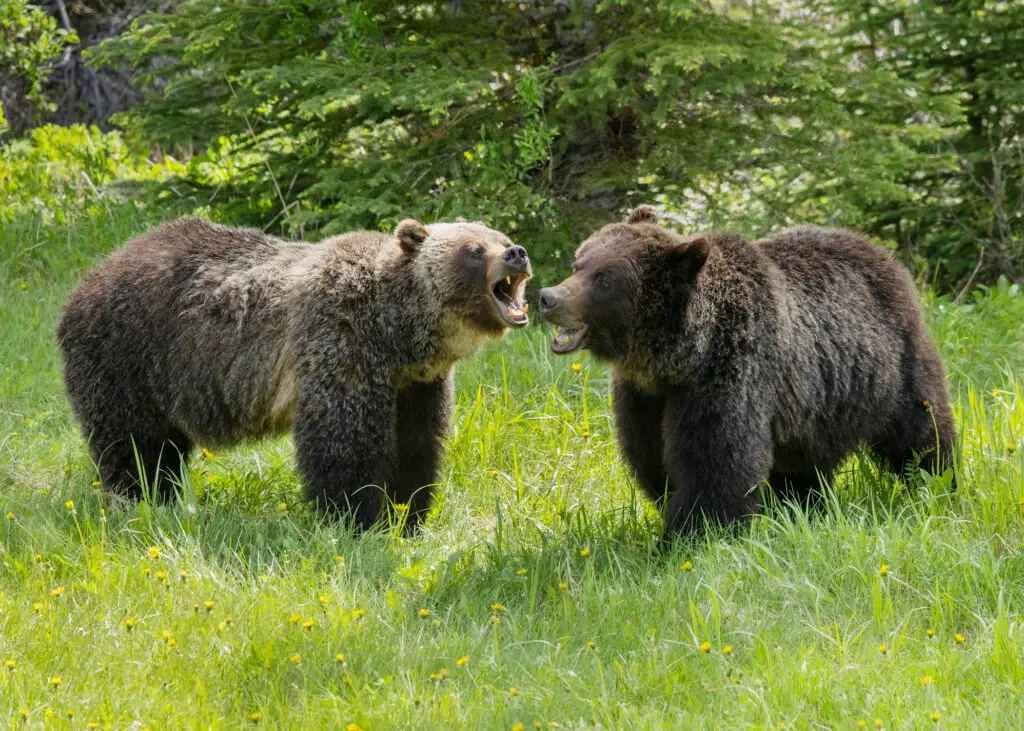
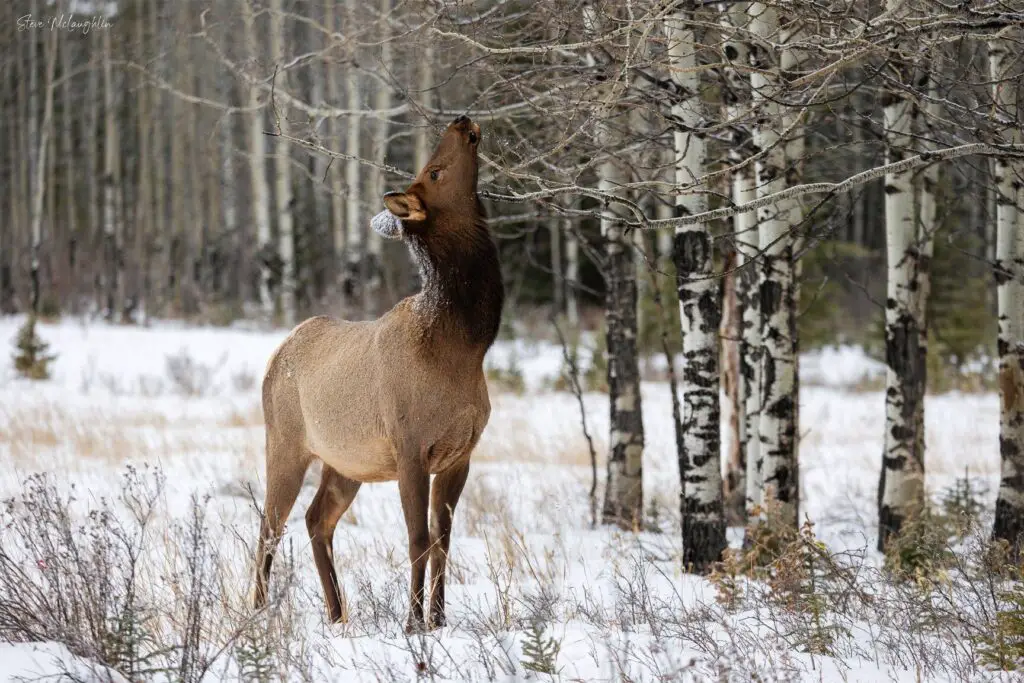
The faster your subject is moving, the faster your shutter speed will need to be to capture it in focus. Animals like elk and grizzly bears are often seen casually grazing or foraging, and may not need fast shutter speeds. But birds in flight will need shutter speeds over 1/1500s if you want to capture them without motion blur.
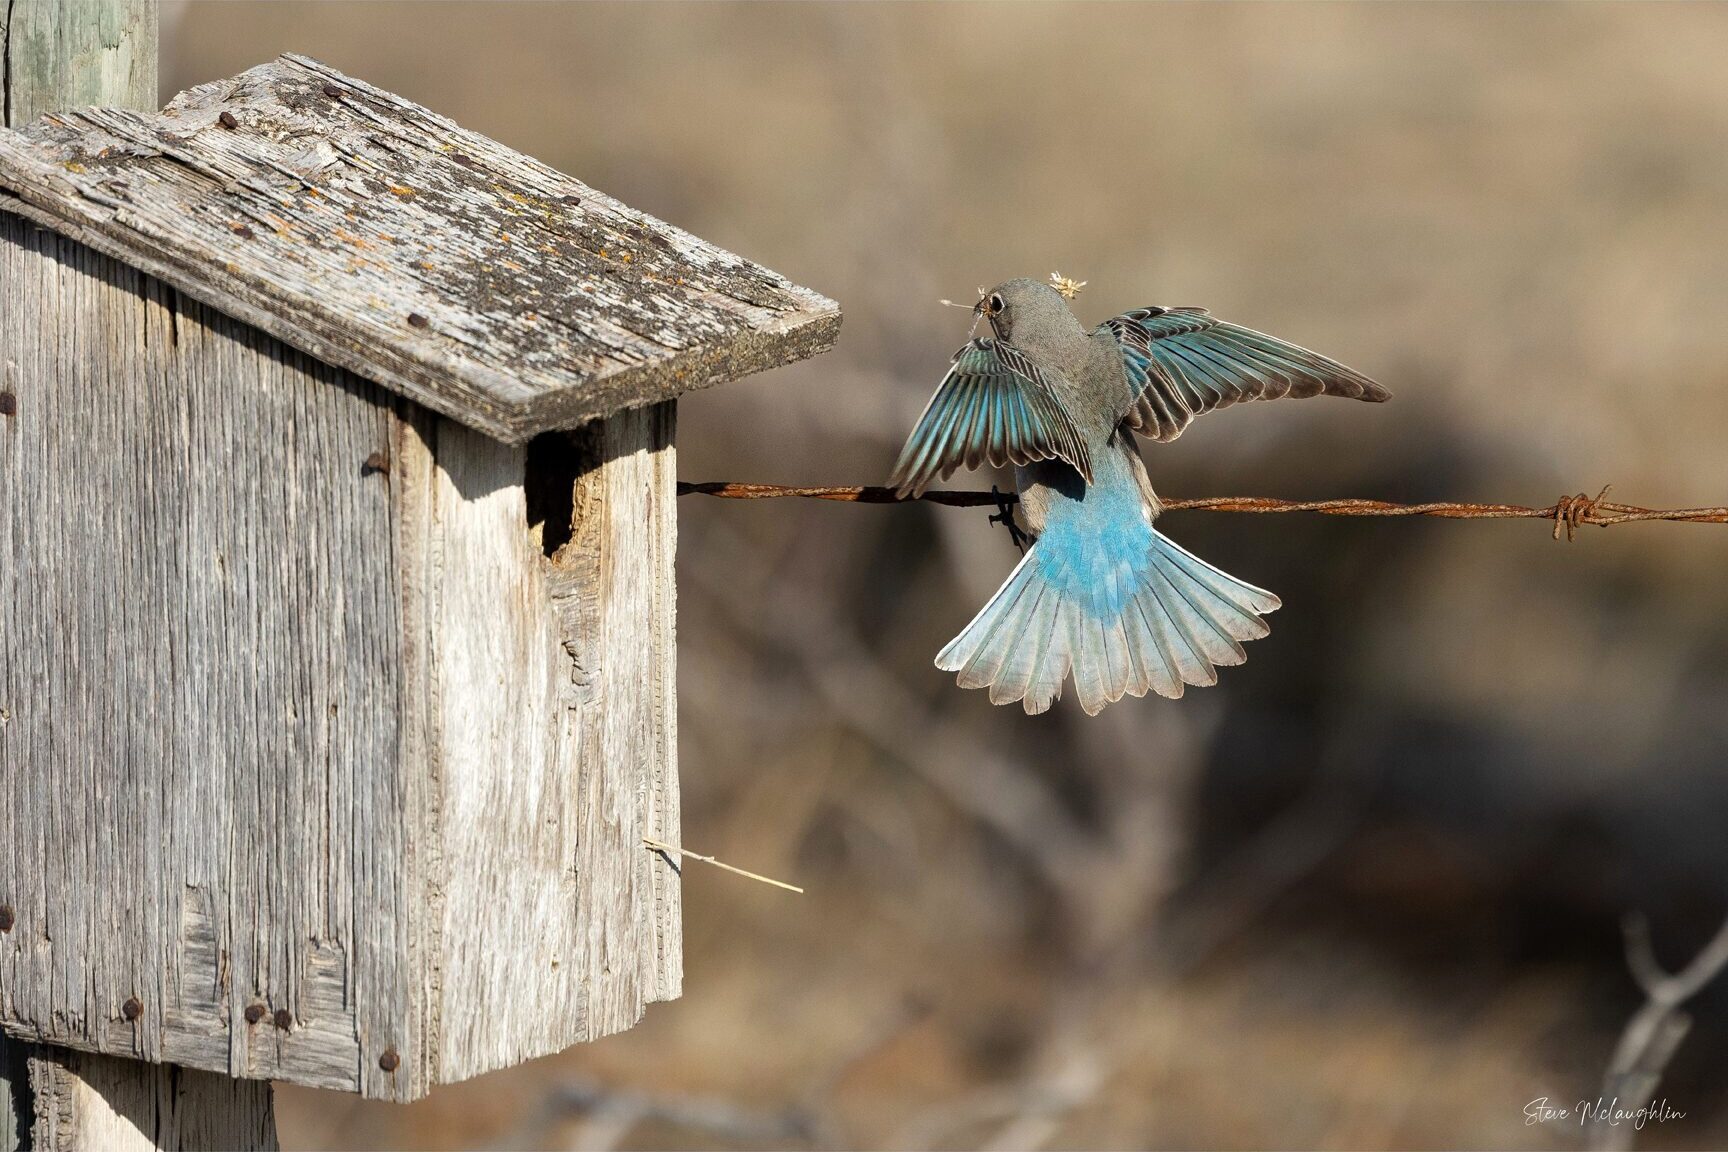
With that said, the amount of ambient light you have to work with affects how fast you can set the shutter speed. At midday, you can easily get away with fast shutter speeds. Around dawn and dusk, or under heavy tree cover, you might have to adjust to a lower shutter speed, higher ISO, or wider aperture.
- Fast Shutter Speeds (e.g., 1/1500s or more): Ideal for freezing fast-moving wildlife, like birds in flight or a herd of elk running.
- Slow Shutter Speed (e.g., 1/100s or less): These let in a lot more light. They can also show motion blur, which can be used artistically. (For example, to smooth out and blur a flowing waterfall or to show the motion of an animal running.)
- Long Exposures (e.g. 1 second or more): Are often used in night photography to capture the stars, the Milky Way or the Northern Lights.
You’ll probably notice that longer lenses are a lot more sensitive to your small hand movements, causing motion blur at slower shutter speeds. One rule of thumb is to use the inverse of your focal length to properly freeze motion. So a 500mm lens would require a 1/500s shutter speed or faster to capture crisp images.
You can sometimes get away with slower shutter speeds, so don’t put the camera away as soon as it starts getting dark out! Try some of these tips to capture sharp images at slower shutter speeds:
- Use a tripod or rest your lens on a natural object like a rock
- If you’re standing, prop your elbows against your body to stabilize the camera
- Stand with your feet shoulder-width apart to stabilize yourself (like a tripod!)
- Hold your breath right as you press the shutter release button
- Take multiple images in the hopes that one will be perfectly in focus
- Use a camera and/or lens with image stabilization (& make sure it’s turned on!)
ISO: Sensitivity to Light
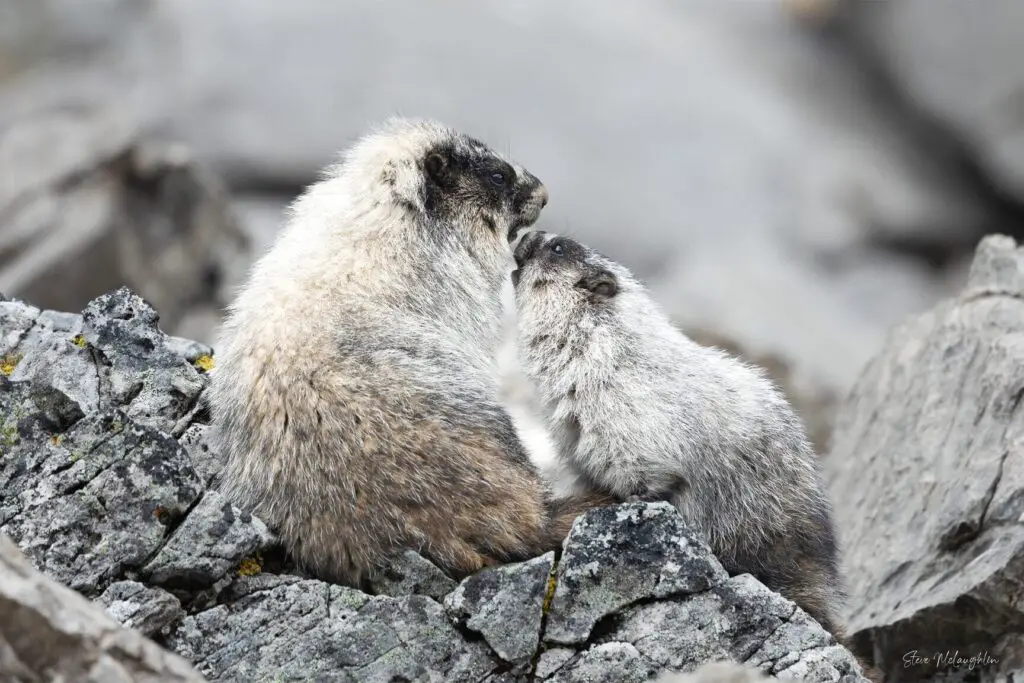
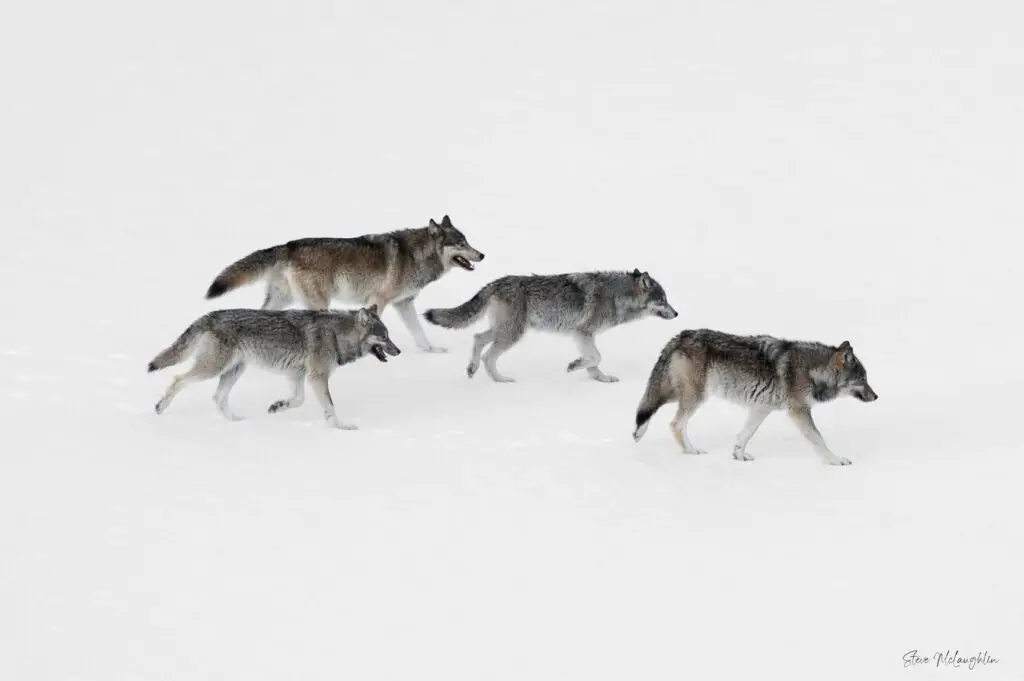
ISO measures your camera sensor’s sensitivity to light. Lower ISO values like 100 or 200 are less sensitive, whereas higher values like 1600 or 3200 are more sensitive. The higher the ISO, the more grain (or “noise”) appears in your image. Some people enjoy the aesthetic effect, but in wildlife photography it can just make your images appear a bit fuzzy and not as sharp.
- Low ISO: Use 100-400 ISO in bright daylight to achieve good image quality with minimal noise (grain).
- Medium ISO: On most cameras, you can get away with 400-800 ISO before introducing much noise into your images. This is a good range for most daytime lighting situations.
- High ISO: Higher ISO’s (800+) might be necessary in low-light situations, but be aware that it can introduce noise to your photos.
Don’t be afraid to bump up your ISO in low light! Sometimes it’s better to get a grainy photo than no photo at all. A certain amount of grain can be fixed using the noise reduction slider in your photo editing software.
Tips for Balancing the Exposure Triangle
The aperture, shutter speed and ISO are said to form a triangle because they each affect the overall exposure of the image. When you adjust one, either for creative effect or to make the image brighter or darker, you usually need to adjust the others.
For example, if you set your aperture at a higher f-stop to get more of the background in focus, you’ll probably have to lower your shutter speed or raise the ISO to keep the same light level.
- Most of the time, I shoot wildlife photography in aperture priority mode. This lets me set the aperture to be as wide as the lens will allow, and the camera calculates the shutter speed and ISO to expose the image properly.
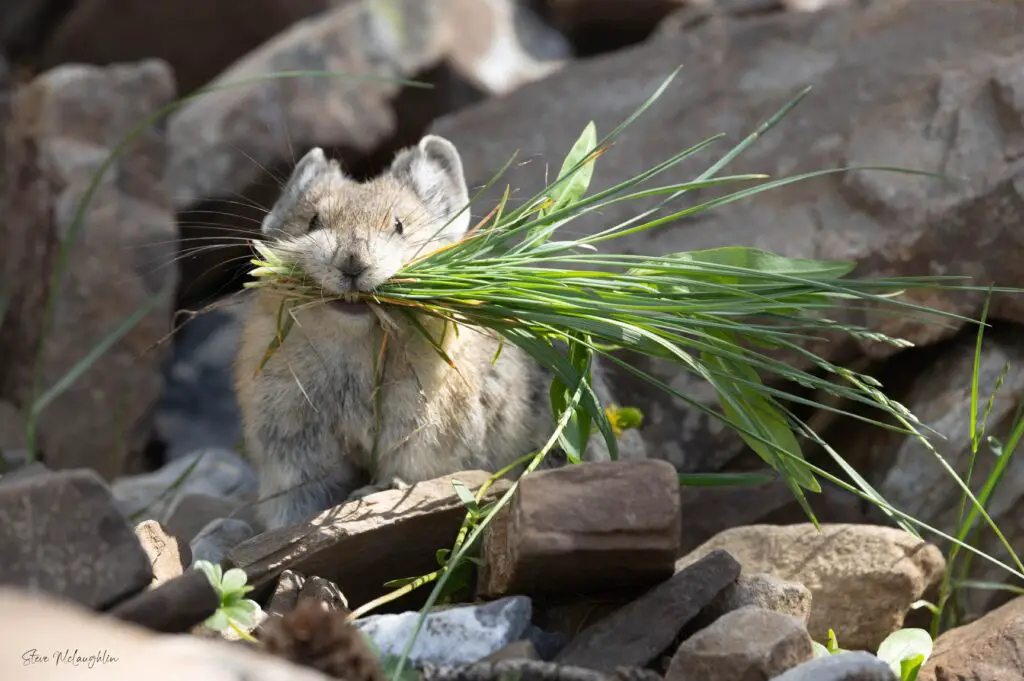
- For birds in flight and fast moving animals like pikas, I use shutter priority mode to make sure the shutter speed is fast enough to capture the action. This is usually 1/1500s or more.
- If you’re adjusting the settings manually, keep an eye on the light meter. On most cameras, this appears at the bottom of your viewfinder. With that said, it doesn’t always get the exposure bang on, so use your own judgment too.
- If you prefer your images to be brighter or darker than your camera’s automatic metering, try adjusting your exposure compensation up or down. (Some cameras have a button for this while others have a dial – check your camera’s manual.)
- Remember you can always make images brighter or darker in post processing. Shooting in RAW format will give you even more latitude than jpeg files to fix the exposure later.
The best way to learn how these three settings work is to play with them! Adjust your aperture, take a photo, adjust, take another photo, and so on. Depending on your camera’s LCD screen, you may or may not be able to see the difference until you load the files onto your computer and compare them. They can be pretty subtle.
Other Helpful Camera Settings for Wildlife Photography
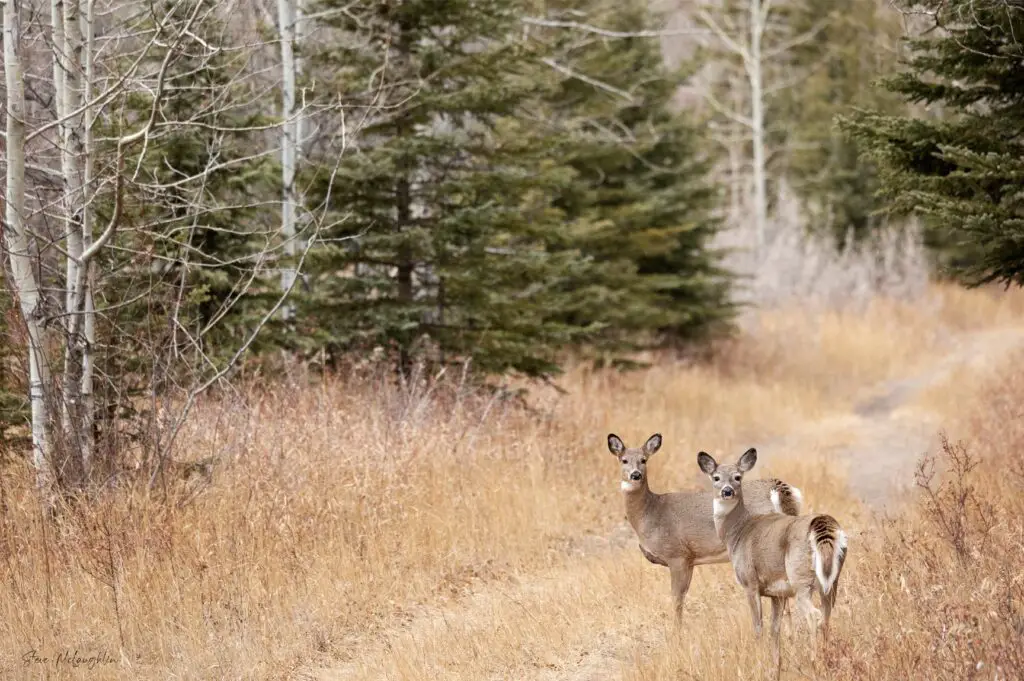
These settings are mainly related to the way the camera focuses. Like with exposure, cameras are pretty good at getting the autofocus right, but they’re not always perfect.
Back Button Focus
One of the first things we always set up on a new camera is back button focus. By default, cameras will autofocus when you press the shutter release button halfway down. This can be annoying when you’re tracking a single animal, or trying to find a new interesting composition for your image. Setting your camera to back button focus will separate the autofocus from the shutter release, so that you choose when to re-focus.
Eye Recognition
Some cameras (like the Canon R6 that we use) have dedicated animal eye recognition, but it isn’t turned on by default. If your camera has this option, it will be located with other focusing modes in your camera’s menu.
Manual Focus
When is manual focus better than autofocus? You may have come across situations where the camera can’t decide what to focus on. It struggles back and forth, making you miss the shot. Or it focuses on a tree branch instead of the animal.
When you’re shooting busy scenes, like thick brush or trees, it might make sense for you to switch your lens to manual focus. You can then adjust the focus onto the animal yourself by spinning the focus wheel on your lens.
Focus Peaking
Focus peaking goes hand in hand with manual focus. In this mode, you’ll see red outlines in the viewfinder (or back LCD screen) around the parts of the image that are in focus. It can really help you nail the focus even with smaller, dimmer screens. Again, you’ll find this setting with other focus settings in your camera’s menu.
Conclusion
It can be hard to wrap your head around all the different camera settings! Don’t expect to understand everything right away – the more you practice, the easier it gets. We hope this article gave you a better understanding of the way your camera works, so you can get the shots you were hoping for.
If you have any questions, drop them in the comments below! We’re always happy to talk more about wildlife photography.
